
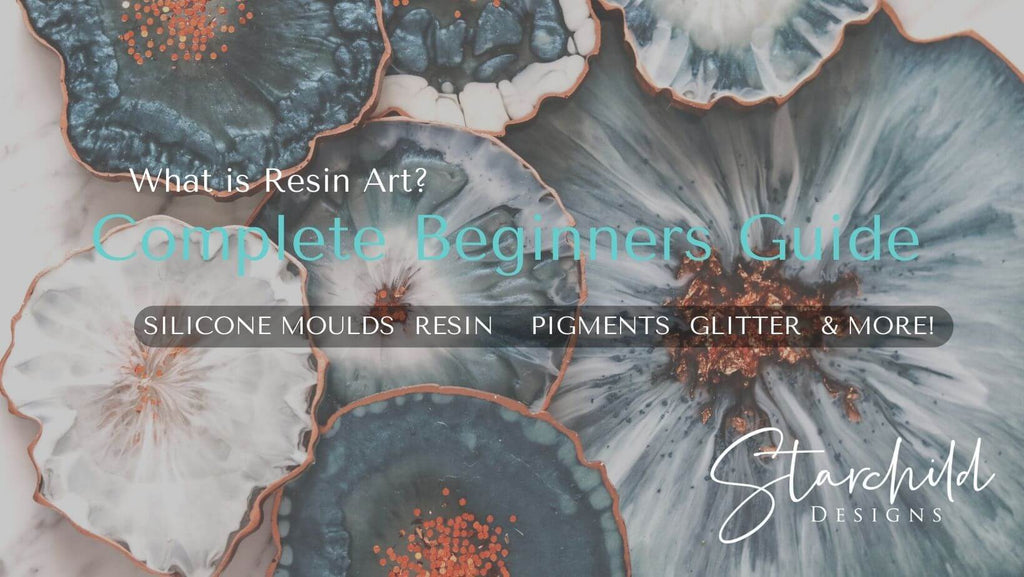
How to do Resin Art? The Complete Beginners Guide to Getting Started.
- Introduction to Resin
- Approaches to Resin Art
- Considerations before Getting Started
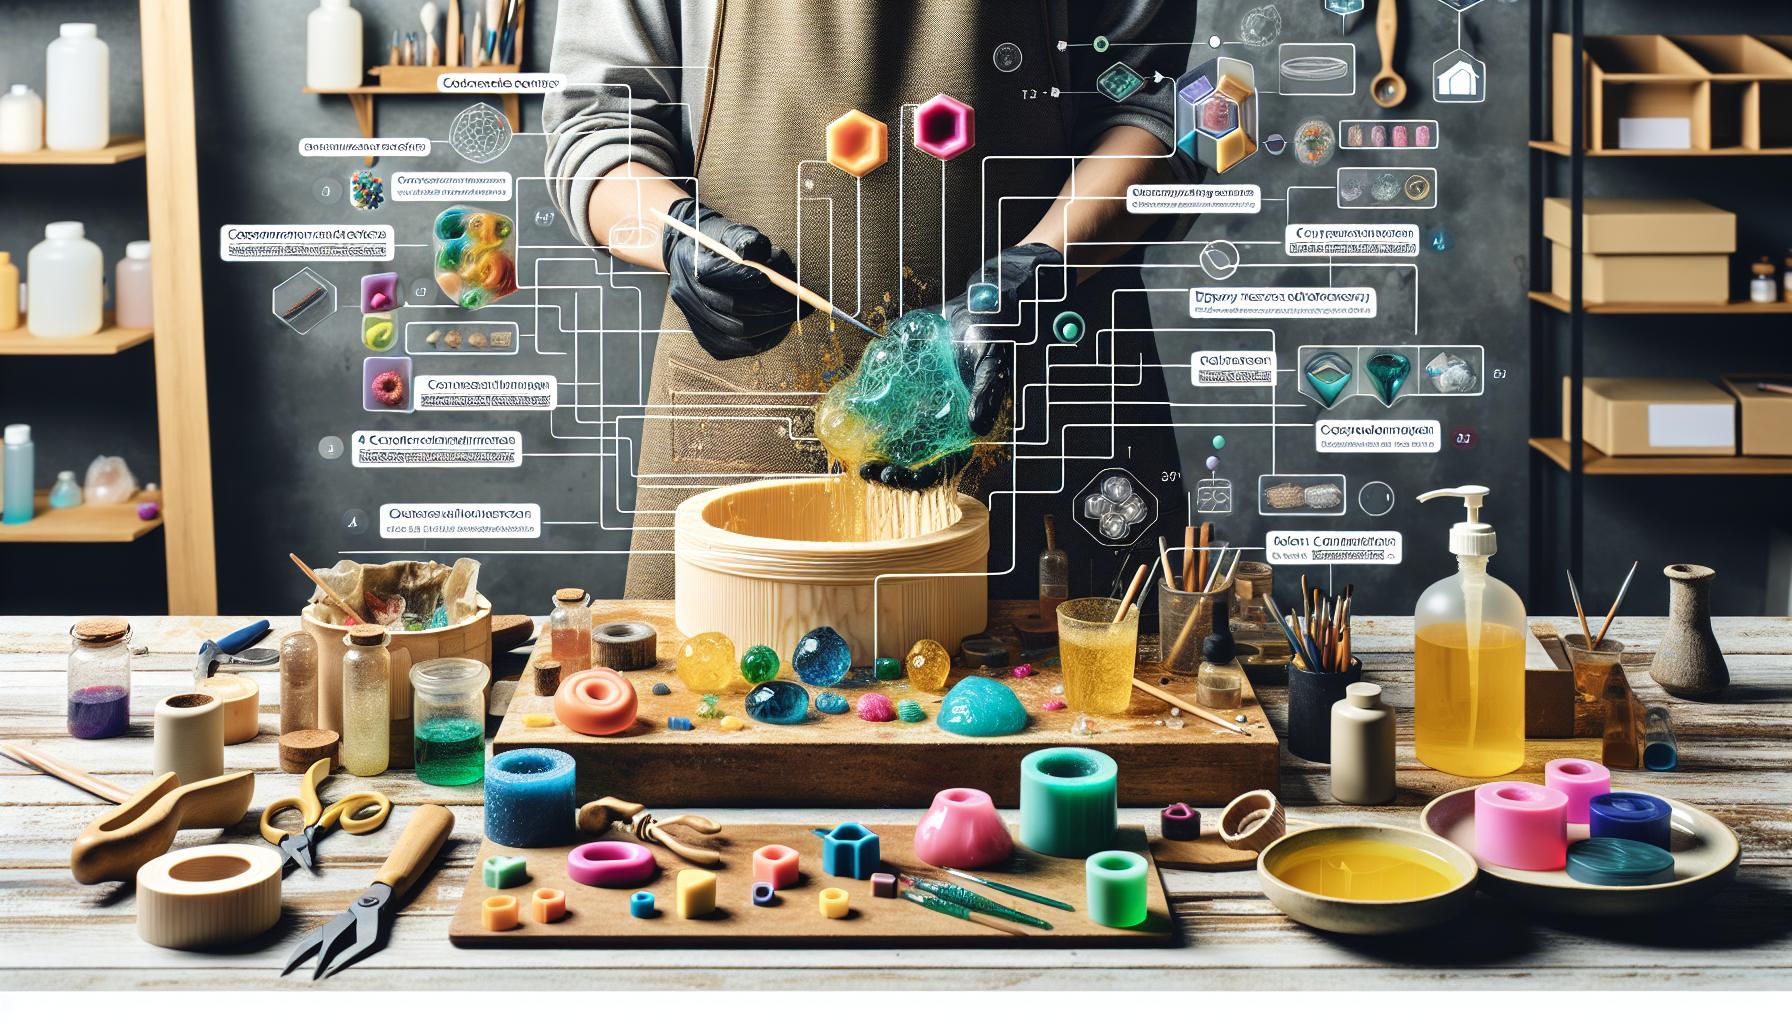
- Materials Needed for Resin Art
- Our Suggestion to getting started
- Beginner Tips for Success
- What can I add to my Resin Designs
So what is Resin art?
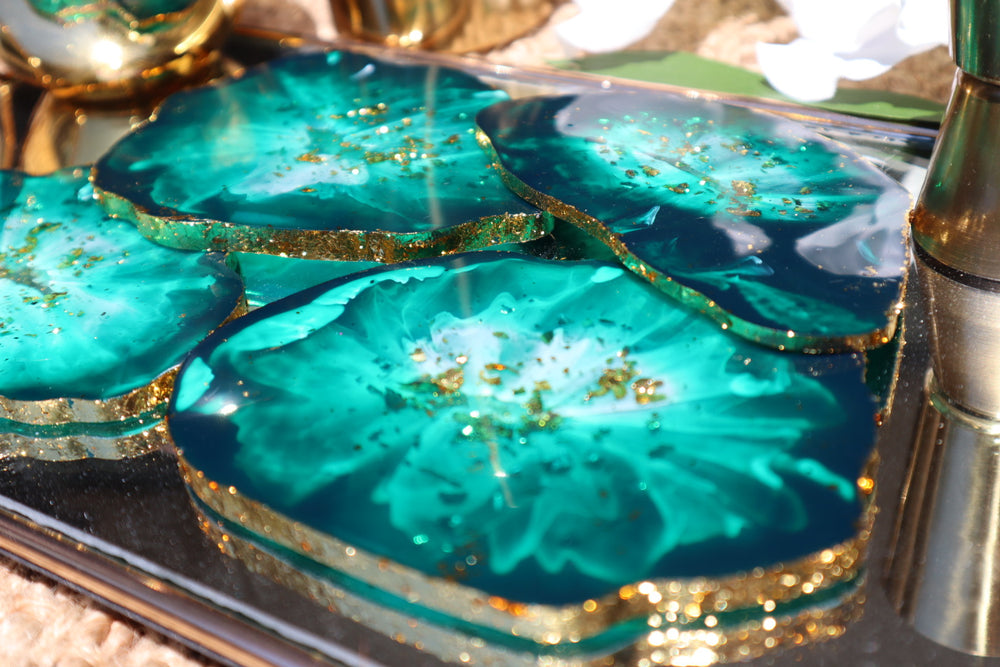
Resin art is a type of art that involves the use of resin, a clear, synthetic, and typically glossy or semi-glossy substance, as the medium or support for the creation of a work of art. Resin is a polymer that can be molded, shaped, and manipulated in a variety of ways to create a wide range of visual effects, textures, and finishes.
Resin art can be created using a variety of techniques, including casting, pouring, layering, and incorporating other materials such as pigments, dyes, glitter, and other decorative elements. The process of creating resin art often involves mixing the resin with a hardener, which causes the resin to cure or set. Once the resin has cured, it becomes a solid and durable material that can be sanded, polished, or painted to achieve the desired effect.
One of the main advantages of resin art is that it allows for a wide range of creative possibilities. The resin can be mixed with a variety of pigments, dyes, and other decorative elements to create a wide range of colors and effects. It can also be molded, shaped, and manipulated in a variety of ways to create intricate patterns, textures, and effects. In addition, resin art is relatively easy to work with and can be used to create a wide range of art styles, including abstract, representational, and mixed media.
What are the different approaches you can take with Resin art?
There are a few different approaches that artists can take when creating resin art. One approach is to create a piece of art by casting the resin into a mold or form. This can be done by mixing the resin with a hardener and then pouring it into a mold, which is generally made from silicone. The resin is then allowed to cure, after which it can be removed from the mold and finished as desired.
Another approach is to create a piece of art by pouring the resin onto a flat surface, such as a canvas, board, or piece of glass. This technique is often used to create abstract or other non-representational artworks, as the resin can be manipulated to create a wide range of visual effects and patterns. A popular technique is creating cells to look like a foamy beach wave in beach resin art.
A third approach is to create a piece of resin art by layering the resin over other materials, such as paper, fabric, or other objects. This technique can be used to create mixed media artworks that combine the visual effects of resin with other materials and techniques.
What should I consider before getting started?
There are a few key considerations that artists should keep in mind when working with resin. One important consideration is that resin is a toxic material, and it is important to take proper precautions when working with it. This includes wearing protective gear such as gloves and a respirator, and working in a well-ventilated area. In addition, resin requires a specific set of conditions in order to cure properly, including the right temperature and humidity levels. It is important to follow the manufacturer's instructions carefully to ensure that the resin cures properly and achieves the desired effect.
What will I need to get started?
Resin
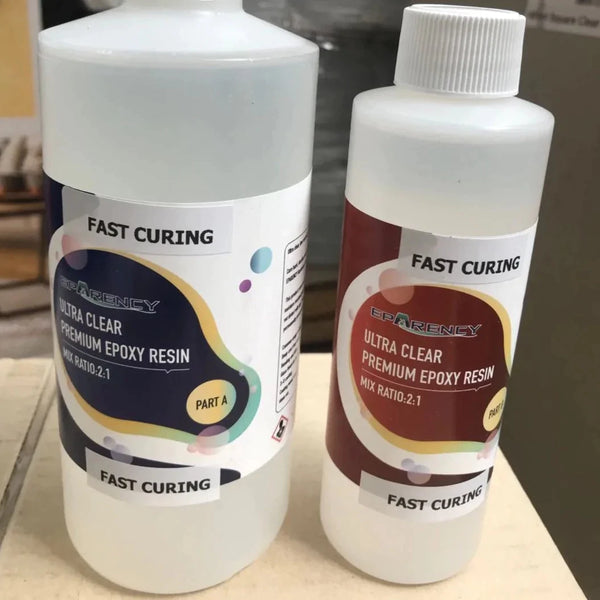
Hardener
Most types of resin require a hardener in order to cure or set properly. The hardener is usually mixed with the resin in a specific ratio according to the manufacturer's instructions. However the hardener and resin are usually purchased together in one package, comprised of Part A (resin) and Part B (hardener).Pigments, dyes, and other decorative elements
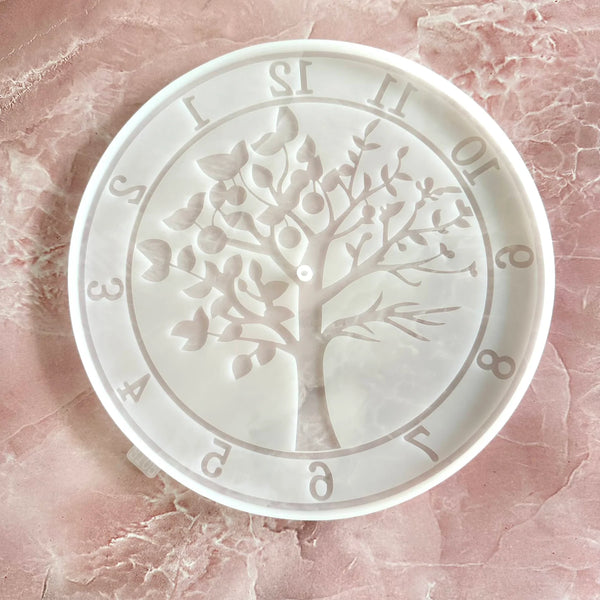
Molds or forms
Surface to work on
You will need a flat surface to work on, such as a table or countertop. It is a good idea to cover this surface with a protective material, such as a drop cloth or plastic sheet, as resin can be messy to work with. Ensure that your table is level before you start, to avoid your resin running off your art piece or mold the wrong way.Mixing cups and stir sticks
Protective gear
When working with resin, it is important to protect yourself from the potentially toxic fumes and particles that it can produce. This may include nitrile gloves, a respirator, and protective eyewear.Other tools and supplies
Depending on your specific project, you may need other tools and supplies, such as scissors, a heat gun, sandpaper, and paint brushes. It is a good idea to have a well-stocked art studio or workshop when working with resin, as you never know what you might need.
Our Suggestion to getting started
A resin starter kit
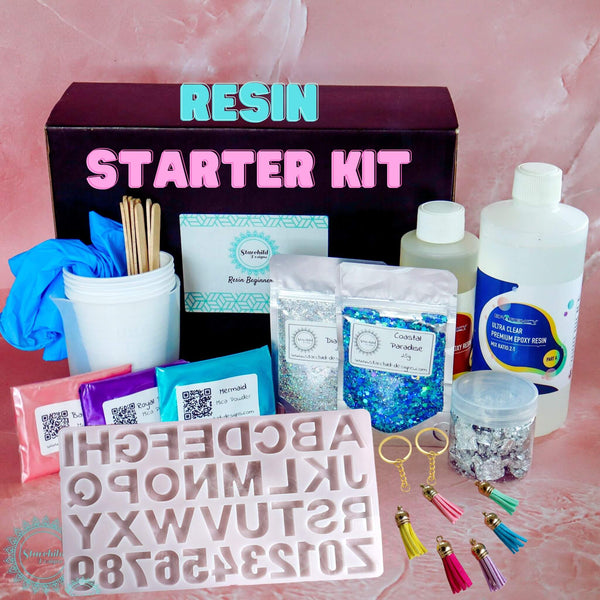
A starter kit such as the Starchild Designs resin starter kit, can be a great way for a person who has never created resin art before to get started. Here are a few benefits of using a resin starter kit:
Convenience:
A resin starter kit includes all of the supplies and materials you need to get started working with resin, so you don't have to spend time shopping for individual items. This can be especially helpful if you are new to resin art and are not sure what you need.
Cost-effective:
A resin starter kit can be a cost-effective way to get started with resin art, as it includes all of the supplies and materials you need in one package. This can be especially helpful if you are not sure if you will continue with resin art and don't want to invest a lot of money upfront.
Easy to use:
A resin starter kit is designed to be easy to use, even for people who have never worked with resin before. The kit usually includes detailed instructions and step-by-step guides to help you get started.
Variety of materials and supplies:
A resin starter kit typically includes a variety of different materials and supplies, such as resin, hardener, pigments, dyes, and other decorative elements. This can be especially helpful if you want to experiment with different techniques and effects.
Overall, a resin starter kit can be a great way for a person who has never created resin art before to get started with this exciting and versatile medium. It offers convenience, cost-effectiveness, ease of use, and a variety of materials and supplies to help you get started.
Beginner Tips
1. Follow the manufacturer's instructions carefully.
Different resins have different mixing ratios and working times, so it's important to read the label and follow the instructions closely.
2. Work in a well-ventilated area.
Resin can release fumes that can be harmful if inhaled, so it's important to work in a well-ventilated area or use a respirator.
3. Use gloves and eye protection.
We mentioned it earlier but it is very important! Resin can irritate skin and eyes, so it's a good idea to wear nitrile gloves and goggles when working with it.
4. Measure accurately.
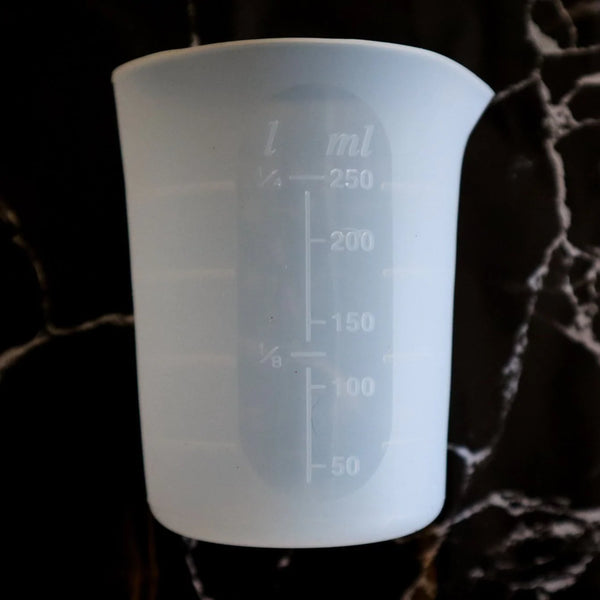
It's important to measure the resin and hardener accurately to ensure proper curing. Use a measuring cup to measure the amounts exactly. We suggest using a reusable silicone mixing cup.
5. Mix thoroughly.
Make sure to mix the resin and hardener thoroughly to ensure an even cure. Use a stir stick to mix the two components together in a circular motion. There are also silicon mixing sticks available that resin doesn't bind to, meaning you can use them again and again.
6. Pour slowly.
When pouring resin into a mold or onto a surface, pour slowly to minimize air bubbles. You can gently use a heat gun on low heat to pop any bubbles that do appear. Use son weeping motions across the resin with a heat gun. Do not hold the heat gun on onr spot too long or you will burn the resin and potentially damage your silicone mould (if using one).
7. Work at room temperature.
Resin cures best at room temperature, so try to avoid working in a cold or hot environment.
8. Use a release agent.
If you're using a mold, be sure to apply a release agent to make it easier to remove the cured resin. This also helps to increase the longevity of the silicone mold.
9. Cure completely.
Allow the resin to cure completely before handling (or sanding). The cure time will depend on the resin you're using and the thickness of your piece. The resin should not be tacky when you touch it or remove it from a siliconr mould.
10. Practice.
Don't be afraid to make mistakes! Working with resin can be a learning process, so it's a good idea to practice on small projects before attempting larger ones. It will take time to learn different techniques and effects.
11. Plan ahead.
Resin takes time to cure, so make sure you plan ahead and give yourself enough time to complete your project.
12. Protect your work surface.
Resin can be messy, so it's a good idea to protect your work surface with a drop cloth or plastic sheeting.
13. Use a dam to control the flow of resin.
If you're working on a vertical surface or want to contain the resin to a specific area, you can use a dam made of clay or other material to control the flow.
14. Experiment with additives.
There are many additives available that can be mixed into resin to give it different properties, such as pigments, glitter, or foils.
What types of additives can be used with resin?
COLORANTS
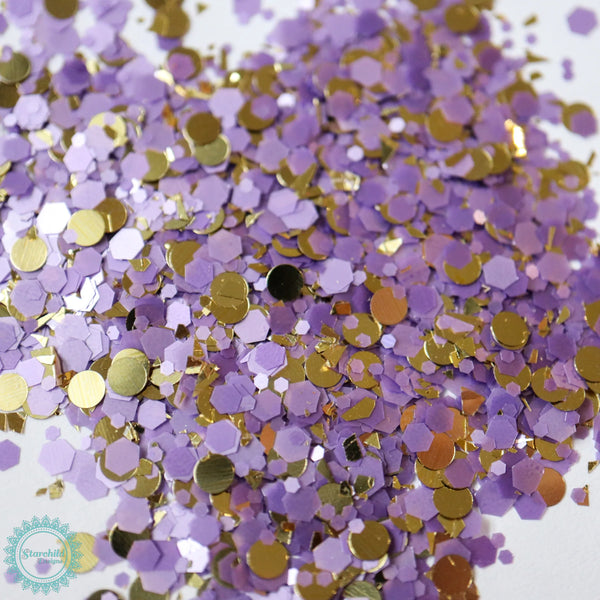
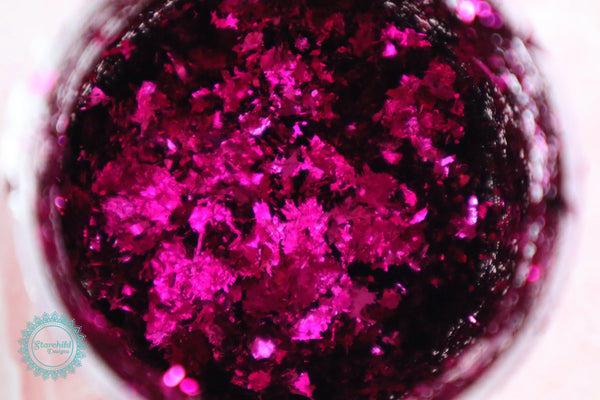
Colorants are pigments that are added to resin to change its color. They can come in liquid, paste or powdered form and can be mixed into the resin to create a wide range of colors. The most widely used colorants are mica pigment powders, pigment pastes, alcohol inks and resin tints.GLITTER
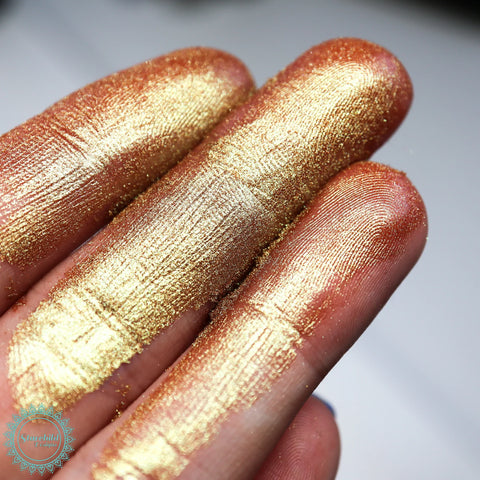
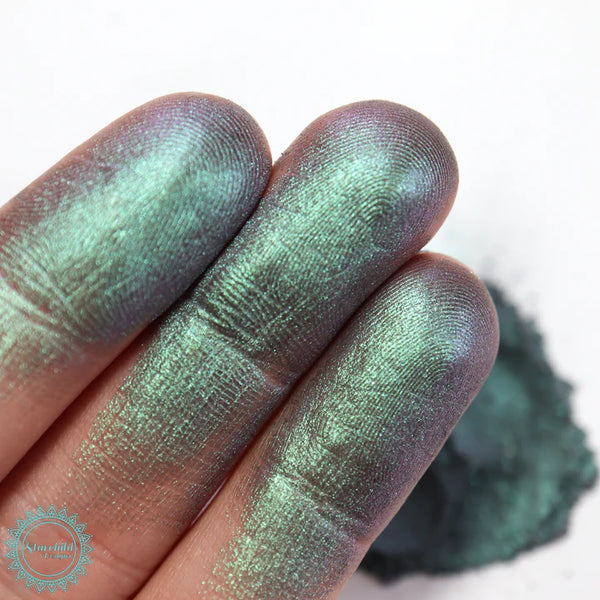
MICA POWDER
Mica powder is a natural mineral that is ground into a fine powder and can be mixed into resin to create a pearlescent or metallic finish. It is available in a range of colors, including gold, silver, and bronze, and adds a beautiful, shimmering effect to resin projects.FOIL FLAKES
PEARL ESSENCE
Pearl essence is a liquid additive that is mixed into resin to give it a pearlescent finish. It is available in a range of colors, including white, pink, and blue, and adds a beautiful, iridescent effect to resin projects.GLOW IN THE DARK PIGMENTS

CHAMELEON PIGMENTS
TRANSPARENT DYES AND TINTS
Transparent dyes are dyes that are added to resin to create transparent colors and effects. They can be mixed into the resin to create a wide range of transparent shades, from pale and subtle to bright and bold.TEXTURES
Materials such as sand, stone, crystals or shells, can be mixed into resin to add texture to a project. This can be used to create a wide range of looks, from rough and rustic to smooth and polished. Often shells and sand are used within resin on beach wall art, or embedded in coasters and trays. Crystals are also very popular for use within resin pyramids.
ALCOHOL INK
Alcohol ink is a special ink that can be mixed into resin to create marbled or swirled effects. It is available in a range of colors and can be used to create a wide range of looks, from subtle and refined to bold and dramatic.
DRIED FLOWERS
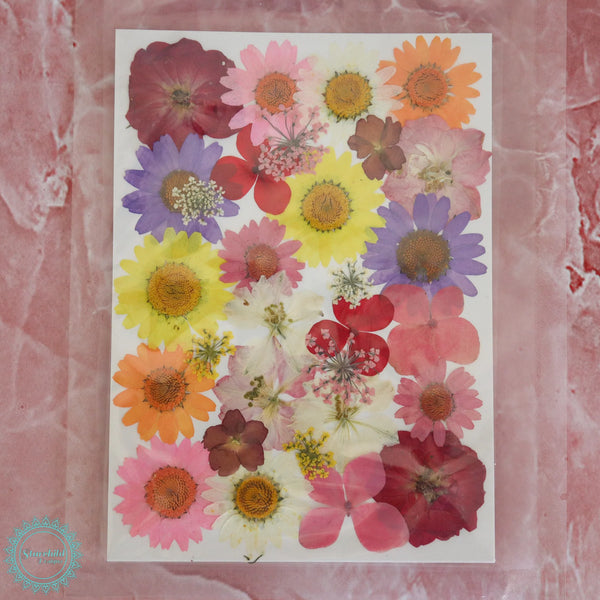
Dried flowers and other plant matter can be cured in resin to create interesting visual effects. This can be used to create a wide range of looks, from subtle and natural to bold and bright. Pressed flowers are used within thinner resin moulds such as coasters and trays. In addition, There are deep cast silicone moulds that are used for casting a dried flower head or bouquet of dried flowers.
Summary
Resin art is a medium that allows artists to create a wide range of visually stunning and creative works of art. Whether working with casting, pouring, layering, or incorporating other materials, resin offers a wide range of creative possibilities and the opportunity to create truly unique and original works of art even as a beginner!
If you have any questions don't hesitate to reach out. We love to help!
Get Started
To get started with beginner kits visit here
Or if you are feeling confident now, view our full range of moulds

Leave a comment